Pages

Wednesday 30 June 2021

How to add a graphic to your convention letters/invites.

This tutorial will show you how to add a graphic to your letters or invites.

You can follow this tutorial for any invitation or letter you are designing, however, I am going to be using my 2021 convention invitation letters.

I use Microsoft word and word pad for designing my letters and Coral paint shop pro 2020 for graphics and screenshots. 

This tutorial - as all of my tutorials - assumes the reader is an absolute beginner. I am going to walk you through every step using words and screenshots. 

This is my finished letter.

Go ahead and open the letter you want to add the graphic to. 

If you want to add the powerful by faith heading as I have, the font I used is called, "Amasis MT Pro". If you don't have that one or don't like it, you can choose a font that you prefer. You can get free personal use fonts at 101freefonts.com 


Now we are going to insert the graphic you want to use. Go to your word or whatever programme you are using. Click on insert > Pictures > This device.
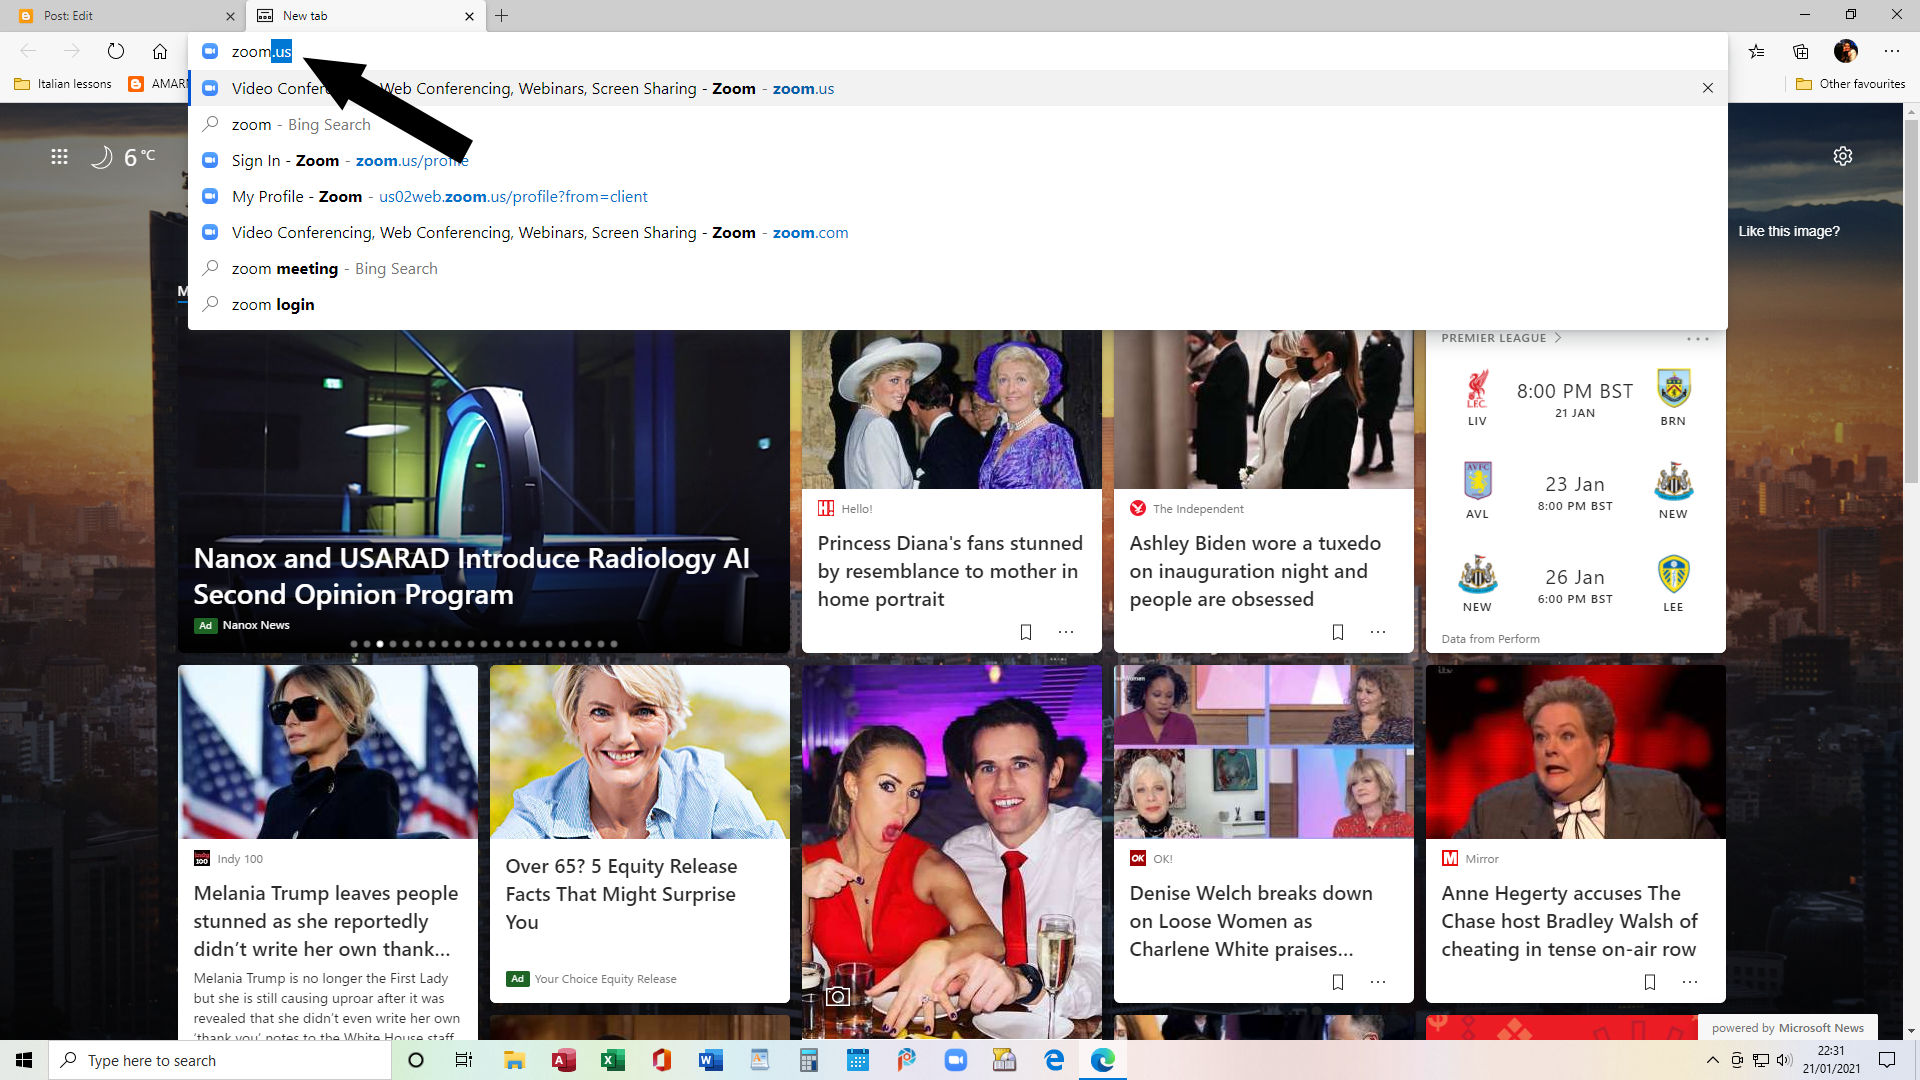
We're going to search for your graphic.


Now navigate to where you keep your graphics. You will need a PNG file, not a JPEG. a PNG file means the background is transparent so it can be placed on any colour paper. A JPEG means it's a solid picture with its own background.
When you locate the graphic you want to use, click on it and it will open in your letter/invite. See screenshots below.

With the graphic now open in your letter, click on the little box "insert behind text" then choose the "fix position on page" option. See the screenshot below.


Now grab the graphic at any corner to shrink it to the size you require and place it where you want it to be. 
I hope this tutorial was a help.
Enjoy doing your letters/invites.
Don't forget to visit jw.org  and get the link to the convention.

If you would like some free to use graphics I have added a few to the bottom of this tutorial. Just right click on any graphic and choose to save it in a folder. Remember where you put it though so you can find it easily when you want it.
If you need a tutorial about making folders and subfolders, click here.

Here are those graphics I promised you. These are my own graphics from 2008 when I was making digital scrapbooking kits. Click on any image below, then right-click and save as.


Monday 31 May 2021

How to insert a QR code onto a letter/document

 This lesson will show you how to add a QR code to a letter/document etc


I am working in Paintshop pro-2020 for graphics. Word and Word pad everything else. My operating system is Windows 10.
If you right-click on any graphic and choose the "open link in new tab" option, it will open up a large 'easier to view' image.

If you don't know how to make a QR code go here for a lesson.

This tutorial - as all of my tutorials - assumes the reader is an absolute beginner. I am going to walk you through every step using words and screenshots.
Assuming you have already got a QR code. We need to attach that to the letter/document. In this instance, I am going to show you how to add it to a letter, however, the procedure is the same.
This is the letter I am using. Go ahead and open up the letter you want to add your QR code to. Don't worry, this is much easier than you may think.


OK, now we're going to go and find your QR code.
Find the insert button in your programme. I'm using Word but whatever programme you're using you should have an insert button. See the picture below.


Step 1. Click on the Insert tab.
Step 2. Click on the picture tab.
Step 3. Click on "This device"
See the image below for the next step.

Find the QR code you want to add to your letter and left-click on it. Don't worry where it lands on your page, we're going to put that where we want it.


All around your QR code you'll see little circles. You want to grab any corner and start dragging it inwards - to make it smaller. If you drop the circle, pick it up again. Don't let it intimidate you.
OK, we're now going to manipulate it so it goes where we want it to. 


Don't worry about where it is right now. In a minute you'll be able to put it wherever you want.
See the instructions on the image above.
1. Click on the QR code and you'll see a little box appear in the right-hand corner. Click on the box.
2. Choose the option to have the code go anywhere between writing. You can choose to have it behind writing but there's not much point in that with a QR code.
3. Choose "fix position on page"
Then do ahead and grab your QR code in order to place it wherever you want. 


I normally place mine at the bottom of my letter but it's your letter so your choice. When you have the QR code at what you think is the right size, go ahead and scan it to make sure it's working. 
Note: if you don't have a QR code scanning app, you can also just point the camera of your phone at the code and it'll ask you if you wish to visit whatever website you want your listener to go to. Of course in my letter, I'm pointing them to the online Bible studies.

I hope this lesson has helped you get to grip on inserting a QR code into a letter/document.
If you know anyone that can benefit from my tutorials please go ahead and share my blog with them. Thank you for visiting. Take care out there.


Thursday 21 January 2021

How to sign up for zoom

 This lesson will show you how to sign up for zoom.com


I am working in Paintshop pro 2020 for graphics. Word and Word pad everything else. My operating system is Windows 10.
If you right click on any graphic and choose the "open link in new tab" option, it will open up a large 'easier to see' image.

Let's get going! My tutorials are very detailed with many screenshots to help the absolute beginner. 
My browser is Microsoft edge. You use which one you prefer.

First of all we will open up a new tab and go to the Zoom website. 
With the new tab open go up to the search bar and type in there "Zoom.us"
open up a new tab and type zoom.us


The screenshot above is the landing page of Zoom. Don't be put off as their home page changes to different scenes every few seconds. All you need to concern yourself with is finding the orange "sign up, it's free" button. See arrow in the screenshot above.
Click on that orange button and you'll be taken to the next page.

Here you will see 3 drop down options.
No.1 Add the month you were born.
No2. Add the date you were born.
No.3 Add the year you were born.
The only reason they need this information is to know that you are old enough to use their application.
I already have an account so I don't want to make a new one. I'm just going to add fictitious details in order to walk you through the process.
On the next page you will be asked to verify your birth details again.


It asks for your work email. Don't worry about that. 
No.1 Add whatever email you want, as long as it's one you use.
No.2 Click on the blue "signup" button.


Click the orange "confirm" button. An email will have already been sent to you. Go check into your email account as you will need to verify your email.


Open your email from Zoom.us and click on the orange "Activate account" button.


I've used another one of my email addresses just to guide you through. 
In the next window you will be requested to add your first name, your last name and a password. 
[see screenshot below]
Your password must

  • Have at least 8 characters
  • Have at least 1 letter (a, b, c...)
  • Have at least 1 number (1, 2, 3...)
  • Include both uppercase and lowercase characters
Once done, click on continue. On the next page, follow the instructions in the screenshot below. Click to show you're not a robot and click on "skip this step"
We're nearly done.


I've blanked out my meeting URL but that's where yours will be. You don't need to do anything with that. Just go ahead and click on "go to my account" You will now see the same as the screenshot below. Go ahead and look around, get comfortable in there. Add a picture if you like. You now have your very own Zoom account where you will be able to meet with friends etc.


Well done for staying until the end. If you know anyone that could be helped by my tutorials, please let them know about them.

So much is done on Zoom now. Jehovah's witnesses have been having their twice weekly meetings on there since March 2019 as they are not having meetings at their kingdom halls due to the pandemic situation. We care about each other and we care about our neighbours. If you would like to know more about our meetings please click here.

Wednesday 20 January 2021

How to add an attachment to an email

 This tutorial will show you how to add an attachment to an email

I am working in Paintshop pro 2020 for graphics. Word and Word pad everything else. My operating system is Windows 10.
If you right click on any graphic and choose the "open link in new tab" option, it will open up a large 'easier to see' image.

This tutorial - as all of my tutorials - assumes the reader is an absolute beginner. I am going to walk you through every step using words and screenshots.
Assuming you have already got a document or picture you want to send in an email. We need to attach that to the email so the recipient can download it at their end.

First of all I'm going to open up my email account. You go and open yours. Compose your mail ready to send. See the little paper clip image No1. left click and it will open your PC.

You're going to go and find what it is you wish to send as an attachment. Mine was in my documents and in a field service folder I had already made before. [see screenshot below]


Once you've located your document, point your mouse and do a left click. You will automatically be back in your email account again and see that your document has automatically attached itself. [see screenshot below] 


Clever huh!

Go ahead if you want to and add more, but be warned, your attachments will be limited. You could pop a number of attachments into a zip folder and send that if you like. If you don't know how to do that, I'll add a tutorial soon.

Thank you for using my tutorials. I hope they help to make life a little easier. If you know someone that could benefit from them, please pass the word around.

Sunday 17 January 2021

How to generate a QR code and save it.

 This lesson will show you how to generate a QR code and save it in a folder

Don't be intimidated by QR codes. They're much easier to tackle than you may think. As usual I will be posting as many screenshots as is needed in order to make the tutorial easy to follow. I am working in Paintshop pro 2020 for graphics and word for everything else. My operating system is Windows 10.
If you right click on any graphic and choose the "open link in new tab" option, it will open up a large 'easier to see' image.
If you're ready, Let's get going.
Example: You've found an article or video which you would like to share with someone. You could of course type out the whole of the website address as it is in the search bar, but that's long. So instead, we're going to add a QR code which can be simply scanned by the recipient. 
First of all let's go and grab the website address to the article you want.
I'm going to choose a subject I've been writing about.
JW.ORG > LIBRARY > MAGAZINES > WHAT IS GOD'S KINGDOM
I'm going to click on that magazine. 
You go and choose what it is you wish to generate a QR code for.
Once you've selected what you want, go up to the search bar. Highlight the website address and choose "copy" [Be sure to follow the screenshots below carefully]


Point your mouse cursor to the search bar and click right, you will now have a small multi choice box appear. Choose "Copy" now we're going to go to generate the QR code.
Click here and a new window will open. You will now be on the QR code Monkey website. There are many different QR code websites, I just happen to like this one.
Once you've tackled the tutorial, you can go and choose whichever QR code website you prefer.


OK! Highlight the QR code URL [see arrow] delete that then right click and choose the paste option. [see screenshot below]

As you can now see, [No.1] you've pasted the website address which you want on the QR code generator. [No.2] Go on over and click "create QR code"  Then [No.3] "download PNG".  
 [See screenshot below]


All that's left now is to save it. Notice down in the left hand corner [see black arrow below] 


Click on the "save as" option. Locate the folder you want to save it to.


Re-name the file if you want to or leave it as it is. Save your work.
There you have it.
How to generate a QR code and save it.
If you enjoyed this tutorial please let others know where to come.