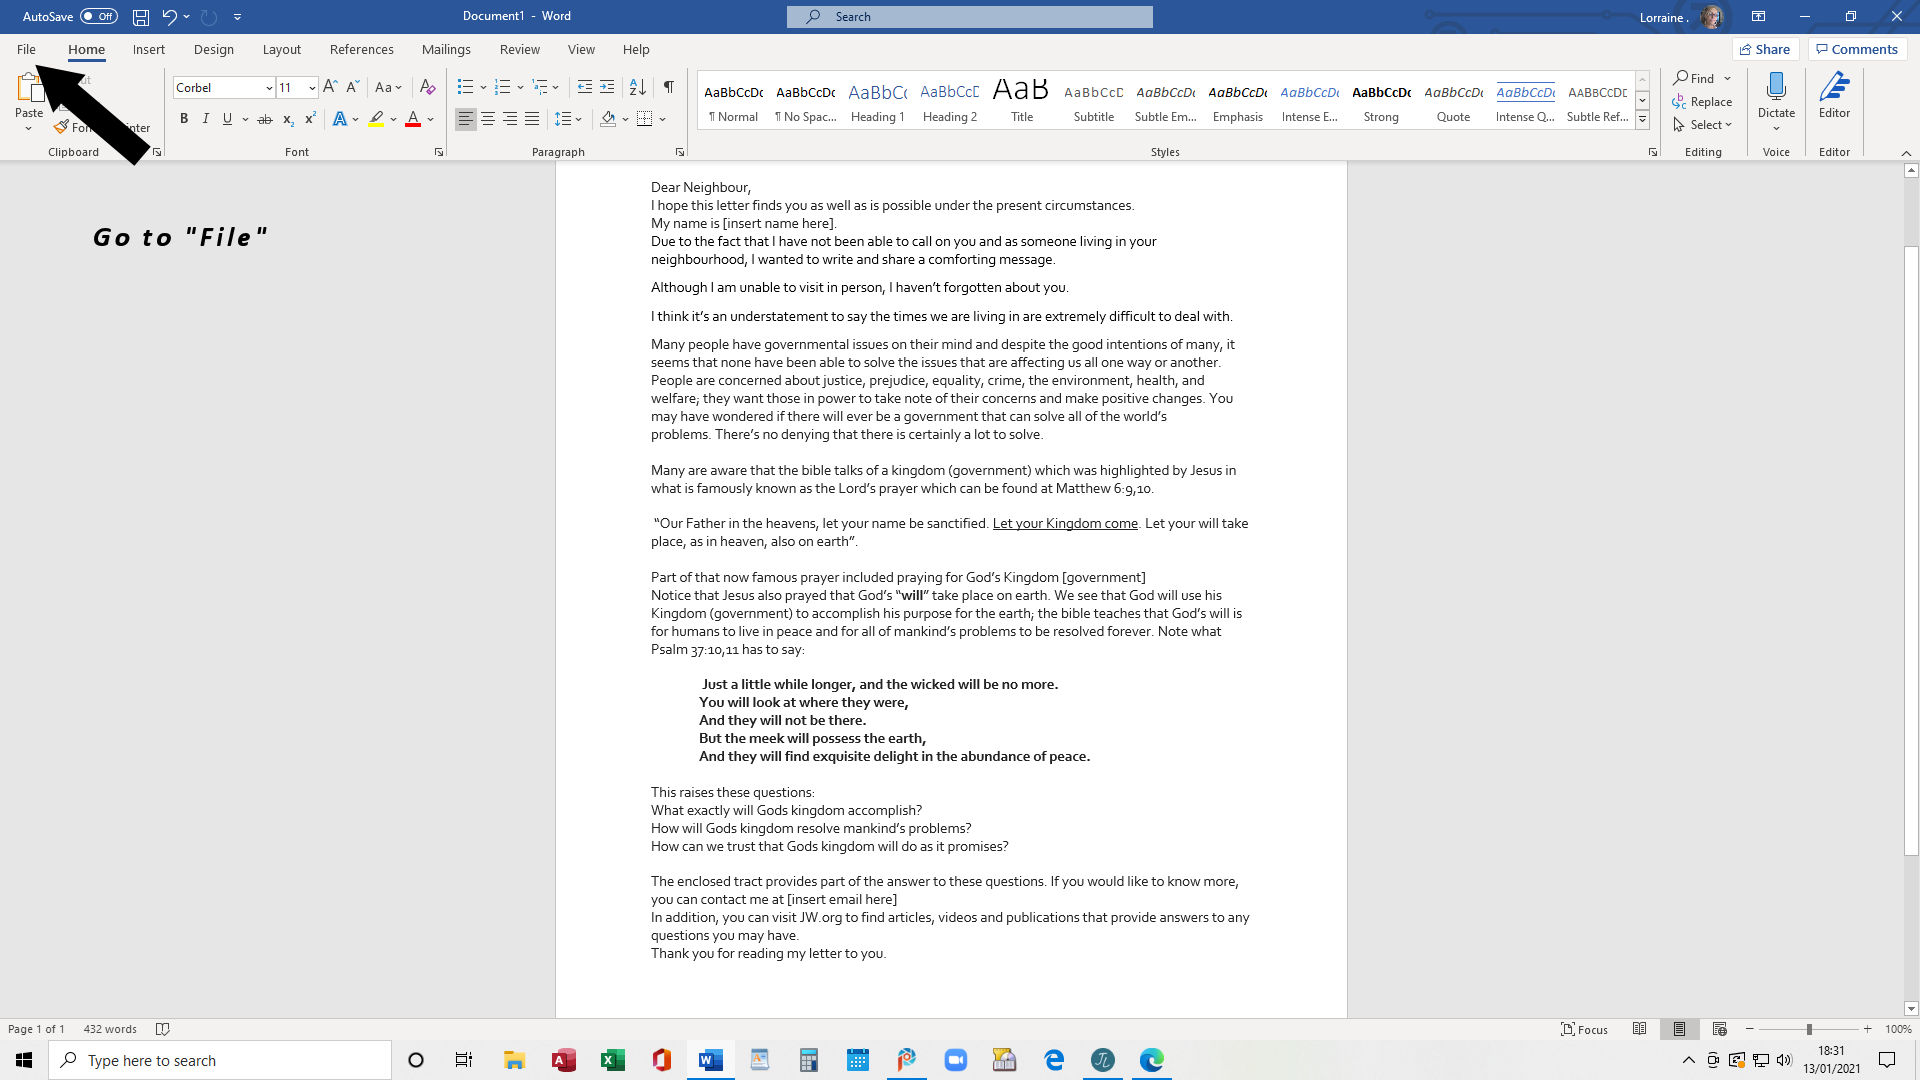
This lesson will show you how to add a QR code to a letter/document etc

I am working in Paintshop pro-2020 for graphics. Word and Word pad everything else. My operating system is Windows 10.
If you right-click on any graphic and choose the "open link in new tab" option, it will open up a large 'easier to view' image.
If you don't know how to make a QR code go here for a lesson.
This tutorial - as all of my tutorials - assumes the reader is an absolute beginner. I am going to walk you through every step using words and screenshots.
Assuming you have already got a QR code. We need to attach that to the letter/document. In this instance, I am going to show you how to add it to a letter, however, the procedure is the same.
Assuming you have already got a QR code. We need to attach that to the letter/document. In this instance, I am going to show you how to add it to a letter, however, the procedure is the same.
This is the letter I am using. Go ahead and open up the letter you want to add your QR code to. Don't worry, this is much easier than you may think.

OK, now we're going to go and find your QR code.
Find the insert button in your programme. I'm using Word but whatever programme you're using you should have an insert button. See the picture below.

Step 1. Click on the Insert tab.
Step 2. Click on the picture tab.
Step 3. Click on "This device"
See the image below for the next step.

Find the QR code you want to add to your letter and left-click on it. Don't worry where it lands on your page, we're going to put that where we want it.

All around your QR code you'll see little circles. You want to grab any corner and start dragging it inwards - to make it smaller. If you drop the circle, pick it up again. Don't let it intimidate you.
OK, we're now going to manipulate it so it goes where we want it to.

Don't worry about where it is right now. In a minute you'll be able to put it wherever you want.
See the instructions on the image above.
1. Click on the QR code and you'll see a little box appear in the right-hand corner. Click on the box.
2. Choose the option to have the code go anywhere between writing. You can choose to have it behind writing but there's not much point in that with a QR code.
3. Choose "fix position on page"
Then do ahead and grab your QR code in order to place it wherever you want.

I normally place mine at the bottom of my letter but it's your letter so your choice. When you have the QR code at what you think is the right size, go ahead and scan it to make sure it's working.
Note: if you don't have a QR code scanning app, you can also just point the camera of your phone at the code and it'll ask you if you wish to visit whatever website you want your listener to go to. Of course in my letter, I'm pointing them to the online Bible studies.
I hope this lesson has helped you get to grip on inserting a QR code into a letter/document.
If you know anyone that can benefit from my tutorials please go ahead and share my blog with them. Thank you for visiting. Take care out there.