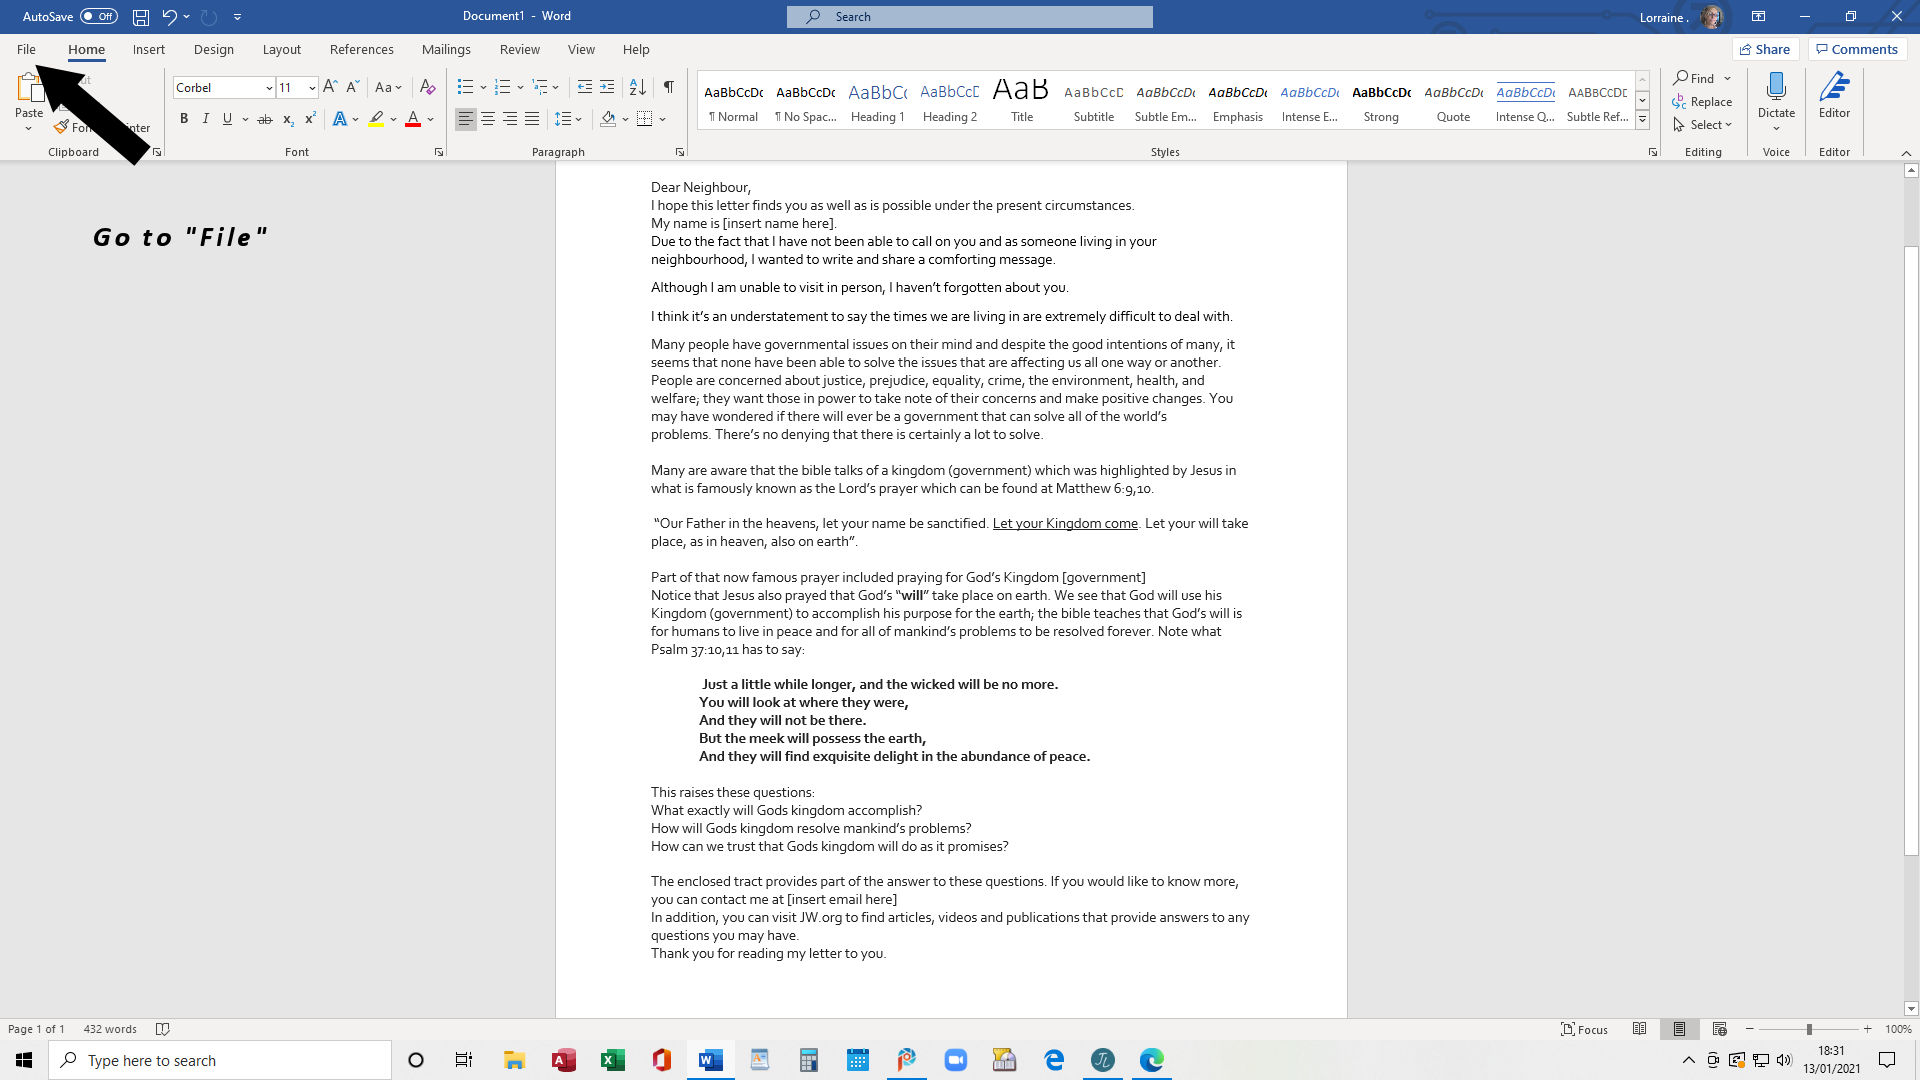
This tutorial will show you how to make a folder on your laptop or PC and then make subfolders inside it.
Note: I have a rotating screen saver on my desktop so that will explain your view of different screen saver images. Apologies for any confusion.
I am working in Paintshop pro 2020 for graphics. Word and Word pad everything else. My operating system is Windows 10.
If you right click on any graphic and choose the "open link in new tab" option, it will open up a large 'easier to see' image.

Okay, you are going to go to your documents and make a new folder in there.
First of all we need to go find it.
See image below.
See where the white arrow is pointing? left click in that space where it say's "type here to search" and type "File explorer" from the multi choice screen that opens, choose "file explorer" See image below.
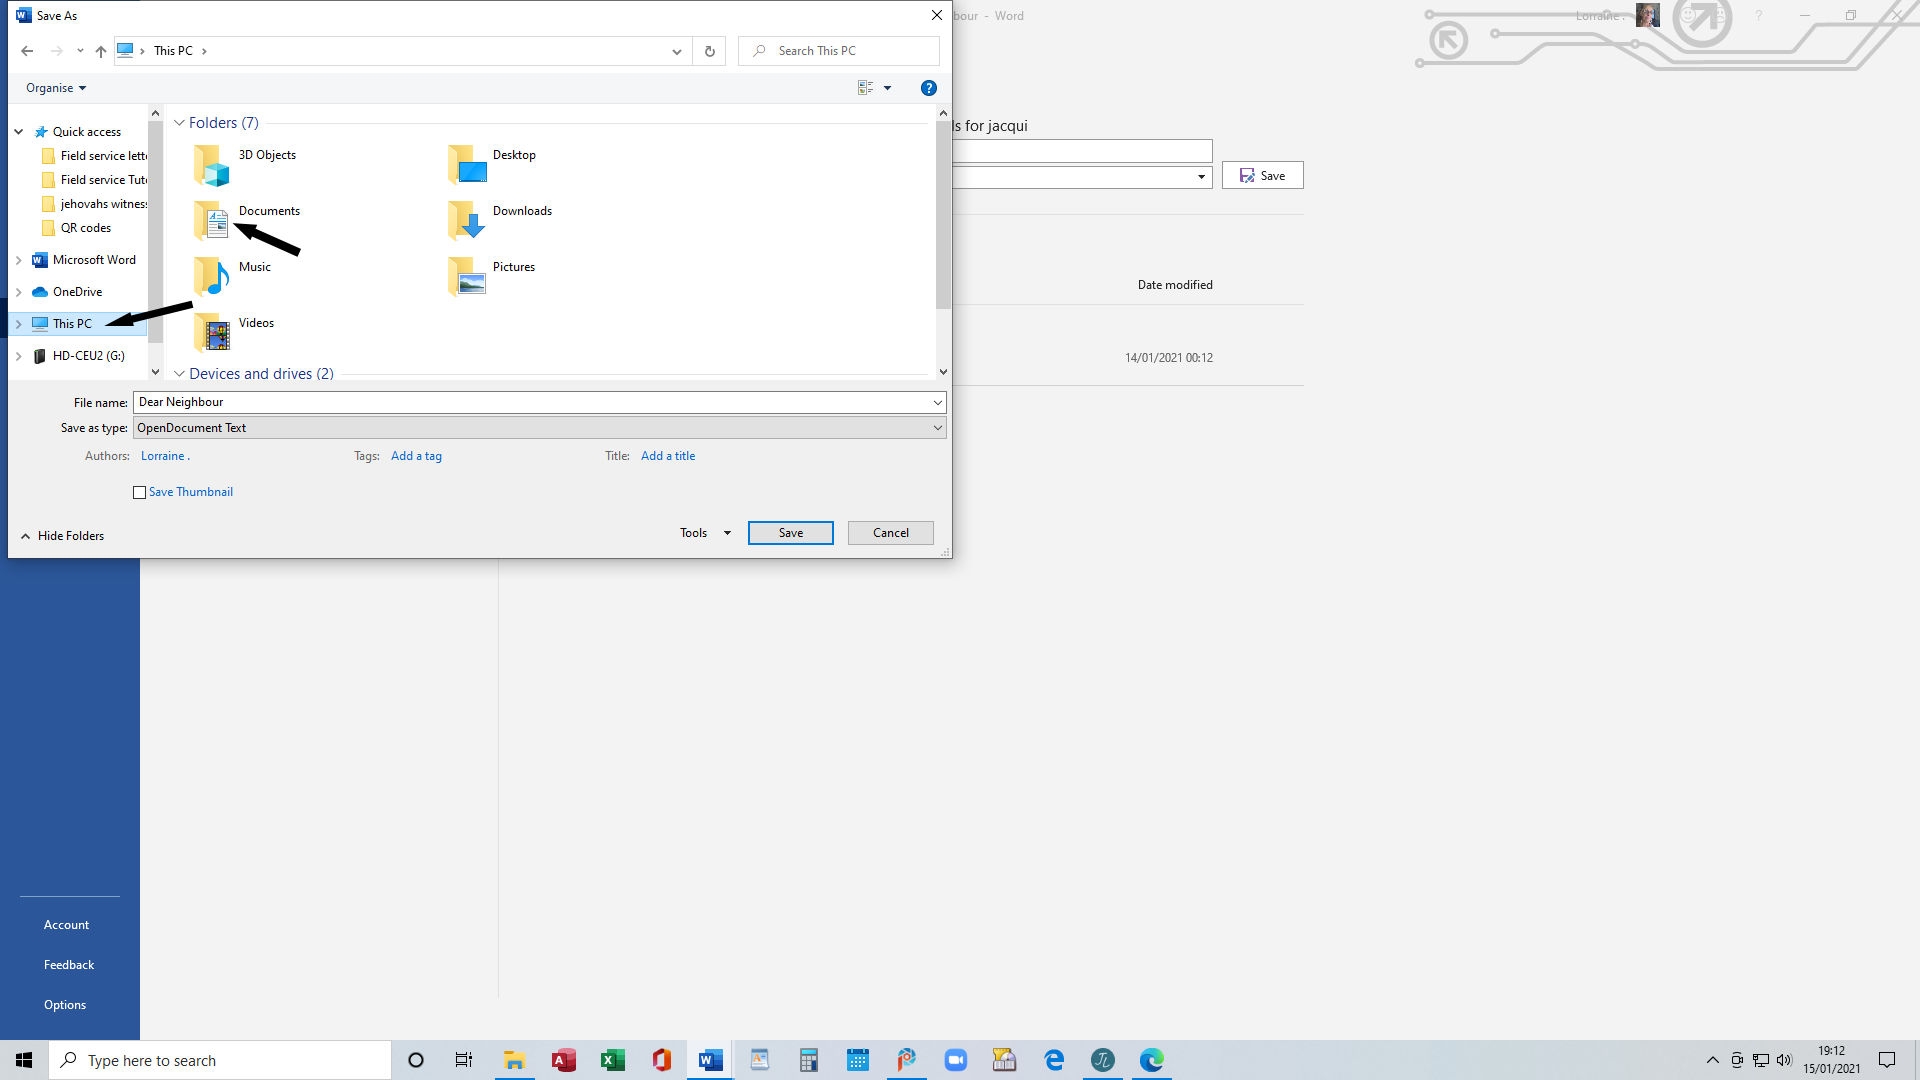
That will open the next view. See image below. Yours won't look identical of course because this is the view on my computer. Check out where the arrow is pointing "this PC"
Left click.
Check out the image below. You are now going to choose "Documents" See where the arrow is pointing? Click on that.
Now you are ready to make your very first folder. Right click on any empty space and you'll see a multi choice box open. Hover over the word "New" you will now see another multi choice box open. Find the word "Folder" Left click on that.
As you can now see, the multi choice boxes have disappeared and a little yellow folder has been created. See image below. Now we need to name that folder. I'm going to name mine (Field service info) you go ahead and name yours what you want. When you've named it, press the enter button on your keyboard. You will now have a brand new folder - see image below.
Note: do not add brackets to the name. They are there just to highlight instructions in this tutorial.
The whole point of making a folder with sub folders is that the sub folders would be for keeping items pertaining to the original folders name. For example: you wouldn't make a folder called "scrap booking" then have a sub folder called "field service letters"
That would be very confusing wouldn't it! So think carefully about what you want to call the main folder. Note: you can re-name your folders at anytime, so do not worry if you need to change the name at a later date.
Next, you will make some sub folders. Go ahead and click on your newly made folder.
You're now inside that brand new folder you just made. A big empty space for you to store whatever you want.
I like to think of my folders as rooms or boxes where I put items neatly away rather than leaving them un-organised all over the place, making an already stressful life more stressful.
Now we're going to make sub folders.
Go ahead and right click on your mouse. Again just as before, a multi choice box will open, hover your cursor over the word "new". When the next multi choice box opens up, find the word "folder" and click on it. You will now have the same as the image below.
Just as you named the first folder you made, you're going to name this one. If you don't name it, you'll just end up with a bunch of folders called "new folder" and that'll be very confusing as you won't be able to identify what's in them.
It would be like having a room full of un-labelled boxes on removal day. The removal men wouldn't know which room they belonged in. Meh!
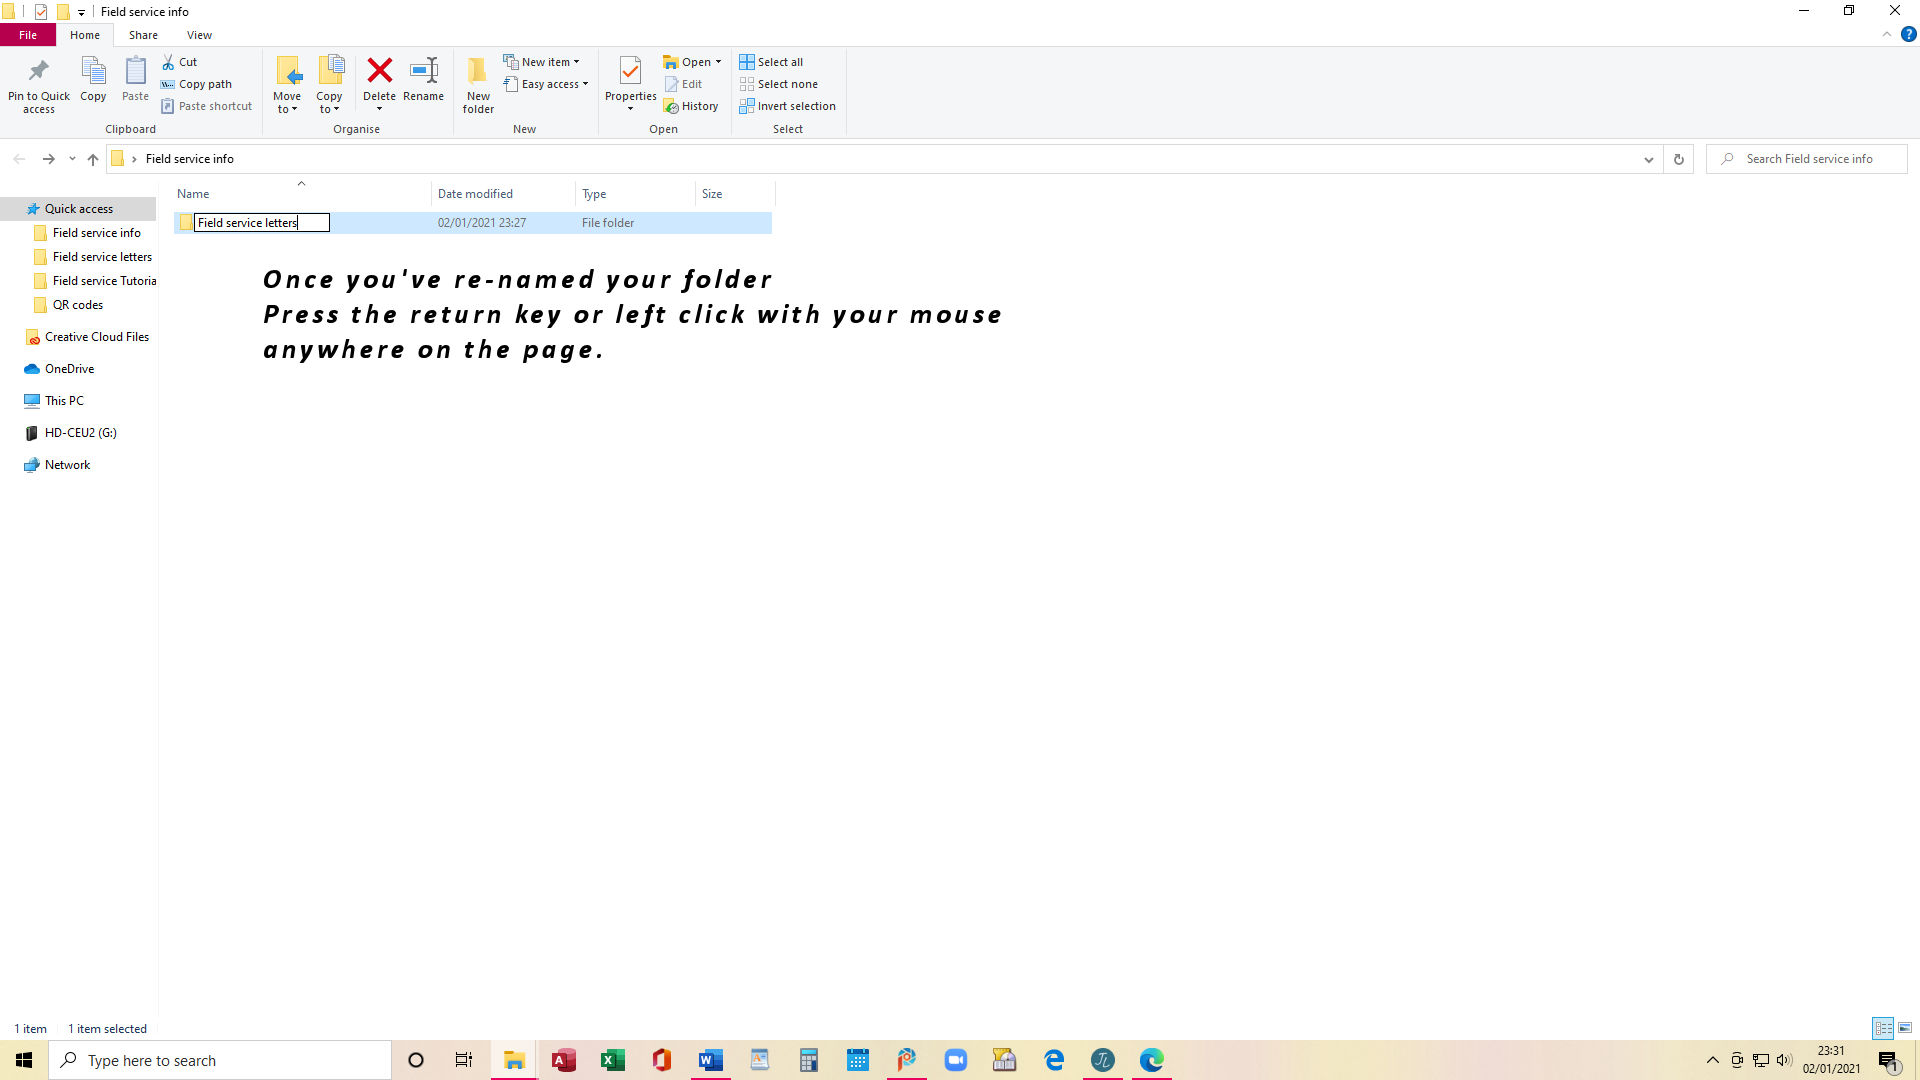
Perhaps you would like to re-name a folder? Follow the instructions below.
Point your mouse toward the folder, right click and a multi choice box will appear. Scroll down to the word "rename". Go ahead and click on that. You will then have the option of naming your folder if desired.
After re-naming your folder, press the enter button on your keyboard.
If you've kept up with me so far, well done!
There you have it. You've just made not only your very first folder, but you've made sub folders as well.
Congratulations.
I hope this tutorial has been of some help to you. Don't be dismayed if you don't get a grip of it the first time. "try and try again" as they say. "Practice makes perfect".
Once you know how to do something on a computer, it's easy to do. The only way you will really learn is to experiment and find out for yourself,
One day you'll be teaching someone else.
I hope you enjoyed doing this tutorial. If you did, be sure to spread the word.

 This tutorial [as are all of my tutorials] is very detailed with many graphics designed to help the absolute beginner.